
How'd they do that?
An initial design is created by hand which is used to make the dies/stamps (kinda like a mold). The dies are usually made of a hard metal like steel and come in twos: one concave, the other convex (an innie and outie) and the pressure of both is what forces the flat sheet of metal into the desired shape.
You can go from relatively flat, simple cookie-cutter stampings to those with amazing dimensionality, embossing and filigree detail.
A flat copper leaf stamping with detailed filigree veining.

Some are actually made to fold into in-the-round objects like beads and bead caps. Some large filigree stampings are used to 'wrap' around stones, jewels and cabochons.
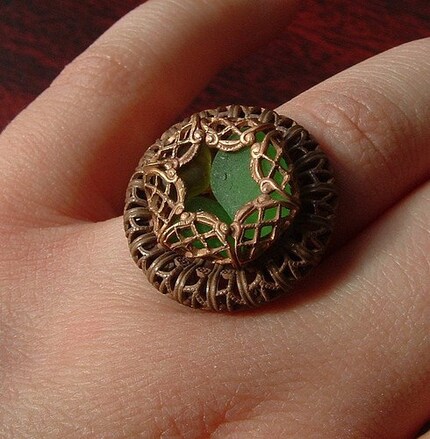
Here's a ring I made using a 'flower' shaped filigree stamping in which each 'petal' was folded to enclose a few genuine sea glass pieces:
What's also neat about vintage stampings in particular is the colors they will take on over time or their patina.
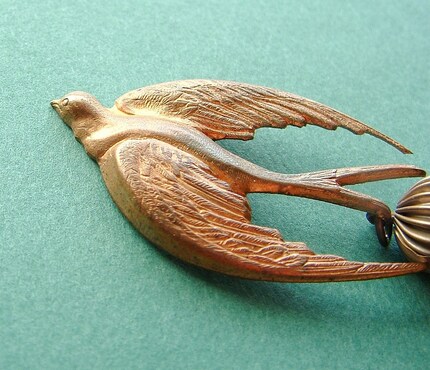
This very old copper Robin has a patina that is almost iridescent:
This old thick copper fleur-de-lis has a very deep patina. I highlighted some areas with a soft scrub pad and rubbed on some candle wax using the heat of my fingers to protect it and add a subtle shine.
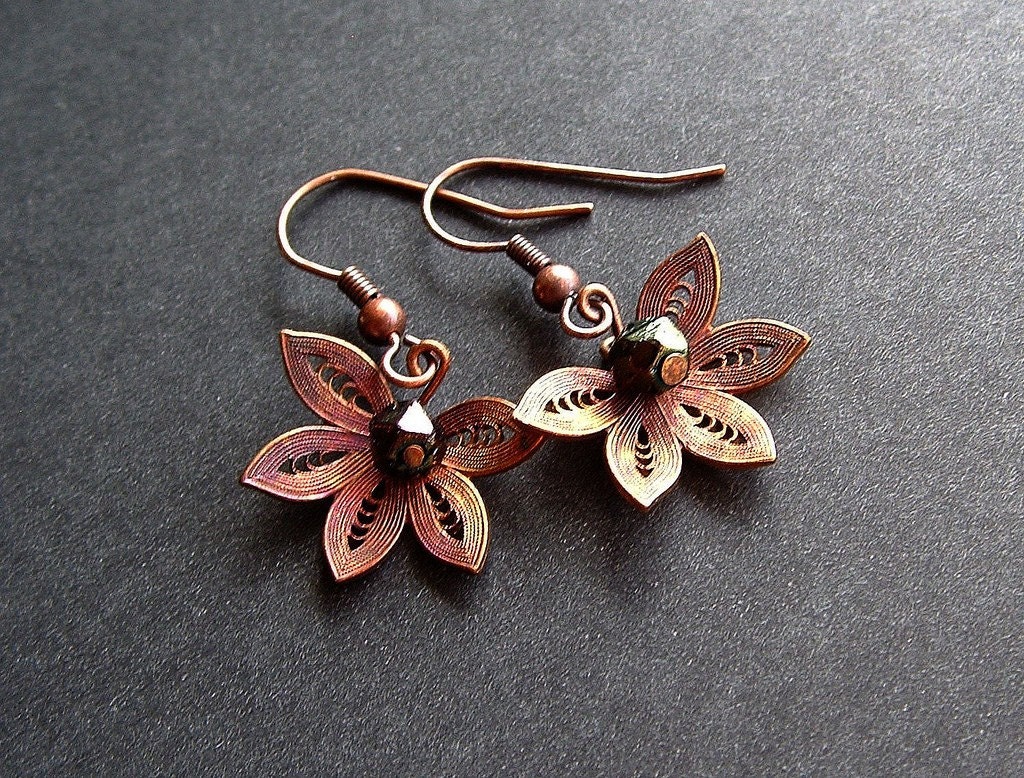
These brass cupped leaf stamping have acquired a beautiful dark purple patina!
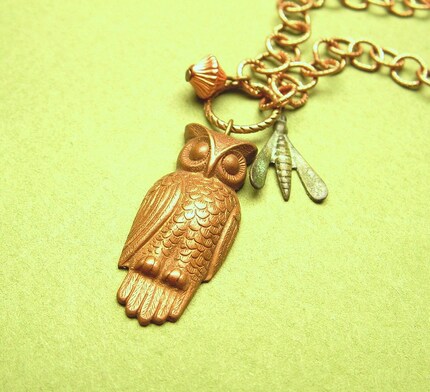
The warm matte cinnamon brown patina on this wise old owl would be qualified as 'gingerbread'.
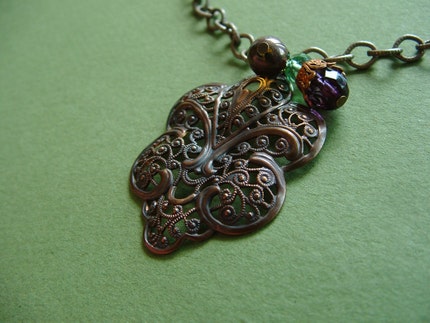
Another very old piece. Beautiful rusty brown patina on the copper filigree fan and a once light golden brass leaf is now almost black

These vintage brass stampings were well cared for and have retained their original light golden color. If you want to remove the patina of a piece all you need is an old toothbrush and toothpaste!


These little brass insects were given an artificial blue patina similar to the one formed on outdoor copper structures and statues:

Brass and copper are great as they will readily form a patina. The patina isn't a sign of damage, it is an outer layer of various chemical compounds from the surrounding environment; copper is often used for outdoor sculptures partly because the patina actually forms a protective coating against corrosion. Like in the examples above patina can form in a variety of colors with the blues and greens being the most striking!
The green of this Goddess in only skin deep!

I found some simple instructions from an amazing jewelry artist Hodgepodgerie on JewelryLessons.com that made this:

"The blue color comes from the patina which is achieved by soaking the copper in a strong brine solution of 4 tbl. salt to 1/2 c. water for 4-6 hours. Remove, let dry (don't rinse it! :)). You then suspend the piece in a lidded container (like Rubbermaid, etc...) with about a 1/2 inch of Ammonia at the bottom. The color is a chemical reaction between the metal, the salt and the ammonia fumes, so you need to make sure your container has a tight fitting lid to prevent the fumes from escaping and that the fumes can get to the surface of the metal. The Aegean took about 3 hours to turn blue. And yes, it's very vivid! The longer you leave in your item, the darker blue it gets. After I removed it, I rinsed it well, let it dry, lightly buffed in places with fine steel wool and then coated it with a clear lacquer finish."
There is also a forum thread on Etsy.com called How do you give brass a BLUE patina?
Some note you can achieve a greener color without the salt and that using wax to protect the patina might be better than using a hard sealer which might wear or crack over time.
Good stuff!
But there aren't any holes for hanging?
Being super low-tech I wanted to find a way to drill small holes as not all stampings have them. I tried my boyfriends pocket drill he uses to stick pins through the limbs of his miniature monster models. It worked beautifully, even for thick stampings and the holes were very clean!
Check out the cute aadvark stamping!


No electricity needed: with this model you use you palm to apply pressure and use you thumb and middle finger to turn. Love it!

My boyfriend bought his from a "Games Workshop(c)" but they are used on many kinds of miniature models. Here's a nice one I found on Etsy with different bit sizes.
Gettin' your hands on some stampings
If you want to recycle vintage findings be aware that some may use terms like 'vintage' but are in fact made using new materials that are stamped with vintage tooling or they may simply be describing them as being of a vintage 'style' rather than using the term to denote the age.
Also beware of terms like 'antiqued' as it refers to a chemical process by which the items are made to look aged. If the piece is described as 'antique' but the stamping is sold in bulk at a cheap price it probably isn't really an antique:(
Handy search terms: vintage, old, stamping, filigree, brass, copper, patina, 'filigree bead', animal, bird, feather, wing, insect, butterfly, fan, flower, rose, floral, face, symbol, key, ...
Thanks for reading!


No comments:
Post a Comment